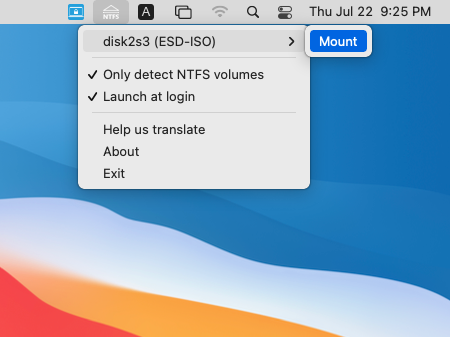
We know that the NTFS file system built into Mac cannot write NTFS drives by default, it can only read NTFS drives. Hasleo NTFS for Mac is a
free software primarily designed to help users full access to NTFS drives in Mac, with it you can mount, unmount, read and write NTFS drives easily, safely and seamlessly in macOS.
To full access (mount, read and write) the BitLocker-encrypted drives in macOS, please go to
Hasleo BitLocker Anywhere For Mac.
Esx 41 Iso Verified Jun 2026
Modern 10GbE/25GbE adapters and standard Intel/Realtek onboard chips found in consumer motherboards lack built-in drivers in ESX 4.1. Classic Intel PRO/1000 or Broadcom NetXtreme adapters are required. Step-by-Step Installation Guide
Select your keyboard layout and specify a secure . Press F11 to confirm and initiate the installation. Once finished, remove the media and reboot. Post-Installation Legacy Challenges & Solutions
Beyond just verifying the ISO, following these best practices will help ensure a smooth installation: esx 41 iso verified
Since Broadcom's acquisition of VMware's virtualization products, official downloads are now managed through the Broadcom Support Portal. To access ESX 4.1 ISOs:
Deploying ESX 4.1 requires specific BIOS settings and storage configurations due to its reliance on older hardware standards. Step 1: Check Hardware Compatibility Press F11 to confirm and initiate the installation
ESX 4.1 does not support modern CPU architectures or NVMe storage protocols. Ensure your host system meets these legacy requirements:
The "41" in "ESX-41" often aligns with . This clause requires organizations to determine all internal and external issues relevant to their security goals. For an "ESX" environment, this means: To access ESX 4
This guide provides an overview of how to verify an ESX 4.1 ISO image, ensuring integrity before you begin your installation. What Does "Verified" Mean?
: Corrupted installation files often lead to "Purple Screen of Death" (PSOD) errors or missing driver modules during the boot process. Security Assurance
When administrators "verify" an ESXi 4.1 ISO, they generally perform two types of checks:
Microsoft Windows includes the certutil command-line tool that can generate hash values. To verify an ISO:
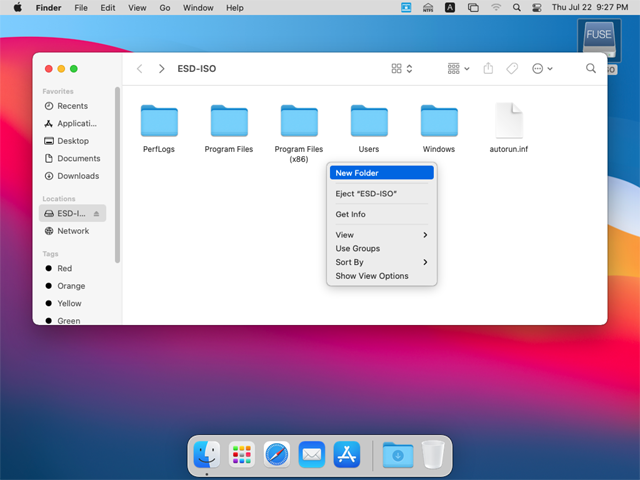
Full Read & Write NTFS Drives as Access Native Mac Drives
After a NTFS drive is mounted with Hasleo NTFS for Mac, you can read and write the NTFS drive as you read and write to a native Mac drive, so you can easily exchange files between Windows and Mac using Microsoft NTFS-formatted removable storage devices.
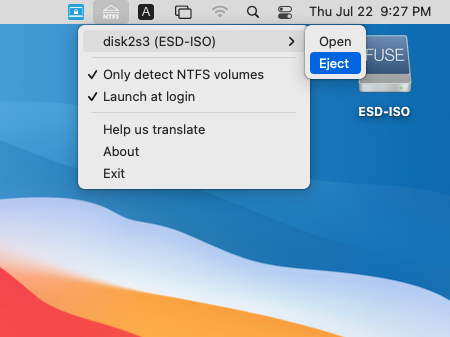
Notes: If an NTFS volume has been automatically mounted by Mac as read-only, you need to eject it and then re-mount it using Hasleo NTFS for Mac before you can full read-write access to it.
Learn how to full read & write access to NTFS drives in Mac OS X >>